
Are you ready to take to the skies with a blend of tech-savvy brilliance and a sprinkle of thermal imaging magic? Meet the Raspberry Pi Zero thermal drone – the ultimate gadget for tech enthusiasts and hobbyists alike. This nifty device doesn’t just buzz around like your average drone: it offers a unique way to see the world from a new perspective, turning everyday sights into thermal wonderlands. So, buckle up as we jump into the world of Raspberry Pi Zero and its exciting applications in drone technology. Spoiler alert: You might just want to build one yourself.
Overview of Raspberry Pi Zero in Drone Technology
The Raspberry Pi Zero is like the Swiss Army knife of the tech world, especially when it comes to drone technology. This tiny yet powerful computer packs a punch, perfect for various gadgets, and drones are no exception. Its lightweight design, coupled with a robust processing power, makes it an ideal candidate for building custom drones. In recent years, enthusiasts and developers have explored ways to integrate the Raspberry Pi Zero with drone technology, significantly enhancing aerial capabilities and imaging features. The flexibility of the Raspberry Pi Zero allows users to customize drones for specific tasks, creating countless possibilities.
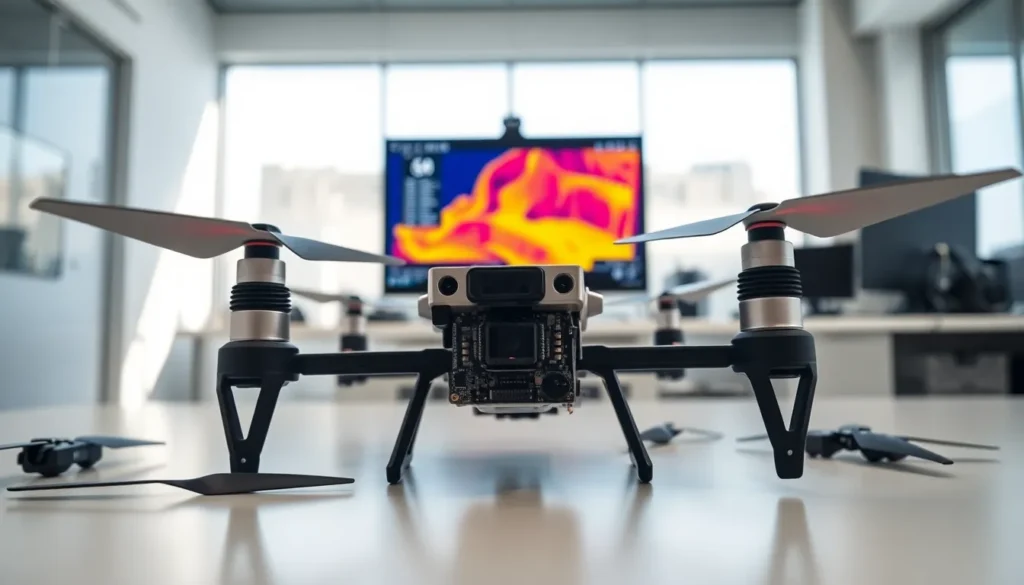
What makes it even more exciting is its compatibility with different sensors, including thermal imaging cameras. With the Raspberry Pi Zero, you can build drones that not only soar through the skies but also provide valuable data through real-time thermal imaging. Whether for personal projects, educational uses, or professional applications, this dynamic duo offers remarkable potential.
Benefits of Using Raspberry Pi Zero for Drones
Why choose the Raspberry Pi Zero for your next drone project? Let’s explore some noteworthy benefits:
- Cost-Effectiveness: The Raspberry Pi Zero is affordable compared to other computing solutions, making it budget-friendly for hobbyists.
- Compact Size: Its minimalist form factor ensures that weight isn’t an issue when assembling your drone. Less weight translates to longer flight times.
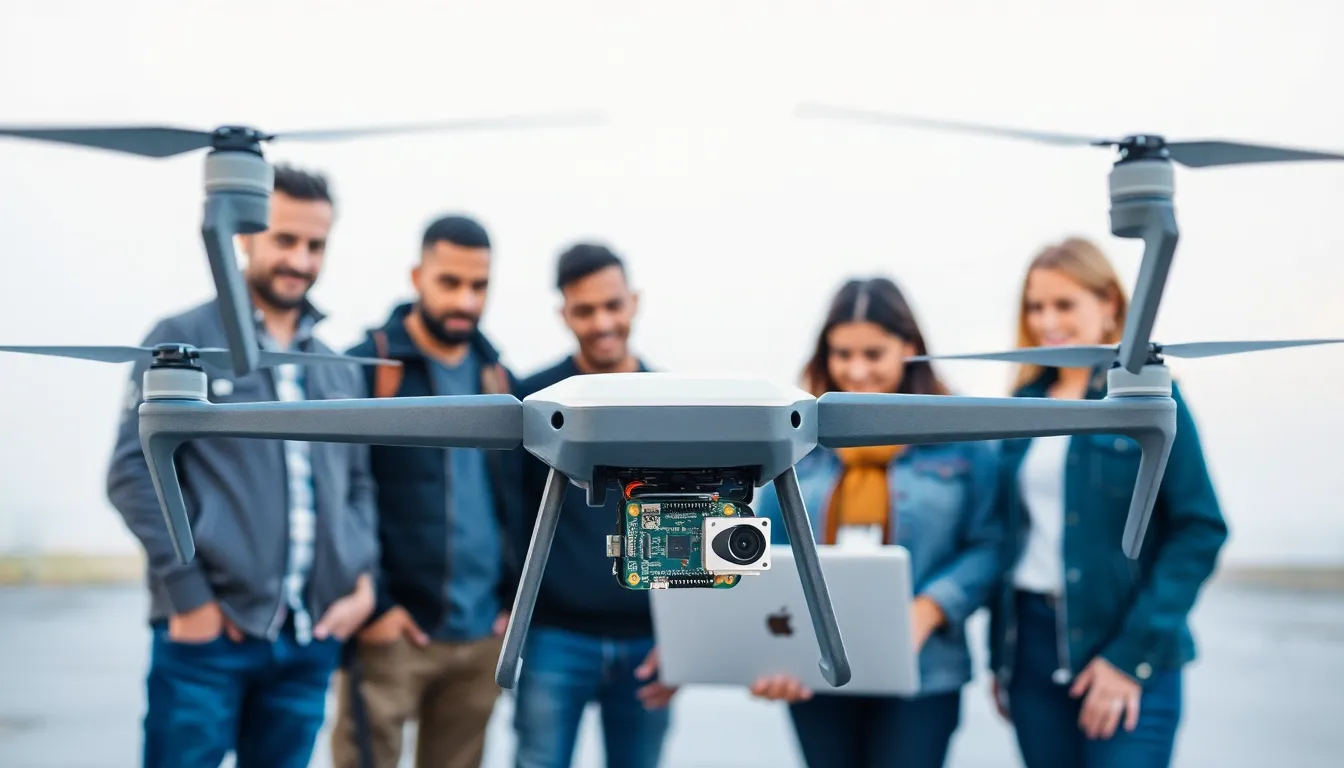
- Community Support: The Raspberry Pi community is vast and welcoming. With plenty of online resources, tutorials, and forums available, assistance is just a click away.
- Versatility: Aside from thermal imaging usage, the Raspberry Pi Zero can serve multiple functions, allowing for a range of features like GPS tracking, image processing, and real-time data collection.
- Ease of Use: Both software and hardware setups can be done with minimal friction. Perfect for newcomers and seasoned techies alike.
Key Components for Building a Thermal Drone
Building a thermal drone requires several essential components, each playing a crucial role in your drone’s performance. Here’s what you’ll need to get started:
- Raspberry Pi Zero: Naturally, this is the heart of your drone, providing the processing power.
- Thermal Camera: Choose a lightweight thermal imaging camera compatible with the Raspberry Pi. Models like the FLIR Lepton are popular choices.
- Flight Controller: A reliable flight controller is necessary for proper navigation and stability in the air. Look for compatible options that work well with Raspberry Pi.
- Battery: Select a high-capacity battery to ensure longer flight durations without weighing down your drone.
- Frame: The frame should be robust yet lightweight: materials like carbon fiber or plastic work great.
- Propellers and Motors: These will determine your drone’s performance. Choose appropriately sized motors and propellers that can handle your drone’s weight.
Step-by-Step Guide to Assembling Your Thermal Drone
Ready to roll up your sleeves? Let’s go through the steps to assemble your own thermal drone:
- Gather Materials: Collect all the essential components listed above. A clean workspace will help prevent losing small parts.
- Attach the Flight Controller: Secure your flight controller to the drone frame. Make sure it’s positioned to allow proper alignment of sensors and GPS.
- Install the Raspberry Pi Zero: Use appropriate mounts or brackets to attach the Raspberry Pi Zero, ensuring connections are secure.
- Connect the Thermal Camera: Carefully hook up the thermal camera to the Raspberry Pi using the designated pins. Double-check connections to avoid issues during flight.
- Set Up Motors and Propellers: Install the motors at the designated points on the frame. Attach the propellers, ensuring they are tightly fitted and correctly oriented.
- Wire Everything Together: Use cables to connect the motors, batteries, flight controller, and Raspberry Pi. Neatly arrange cables to prevent tangling during flight.
- Calibrate Sensors: Before your first flight, calibrate the flight controller, GPS, and thermal camera to ensure accurate readings.
Programming Your Raspberry Pi Zero for Thermal Imaging
Now that you have your thermal drone assembled, it’s time to jump into programming the Raspberry Pi Zero. Here’s a step-by-step approach:
- Install an Operating System: Begin by installing a lightweight OS like Raspbian, which is user-friendly and supports numerous libraries.
- Set Up the Camera: Connect the thermal camera and configure it using software libraries that control video capture and processing. Libraries like OpenCV can be useful here.
- Write the Code: Create Python scripts that handle image acquisition from the thermal camera. You can program your drone to capture images at set intervals or in response to specific triggers.
- Analyze Data: Develop functions that analyze data and highlight thermal hotspots or temperature variations in real time.
- Test and Debug: Run your scripts and observe data output. It’s vital to test your setup before taking your drone for a spin to avoid any surprises.
Use Cases and Applications of Thermal Drones
The applications of thermal drones are rich and varied, appealing to hobbyists and professionals across different fields. Here are some compelling use cases:
- Search and Rescue Operations: Thermal drones enhance search efforts for missing persons or victims of disasters by detecting body heat from above.
- Agriculture: Farmers use thermal imaging to monitor crop health, detecting diseases and irrigation needs.
- Building Inspections: Inspectors can check for heat leaks in buildings, making energy efficiency assessments easier and more accurate.
- Wildlife Monitoring: Conservationists use thermal drones to observe wildlife behavior without disturbing their natural settings.
- Industrial Inspections: Industries employ thermal imaging for equipment monitoring, identifying overheating components to prevent failures.